15 things to check before launching your new website
Your shiny new website is designed and integrated with a CMS. You’ve spent weeks creating and tweaking... You DID IT! Now, everything is beautiful and it’s time to go live!
But hold on a second... are you sure you’ve checked everything? It’s so easy to miss a number of crucial steps in the initial excitement of launching a new website. Setting things up properly from the beginning is well worth it. You will set your project up for success and you may save yourself unnecessary costs later on.
Here’s an easy-to-follow checklist that covers crucial points to review before launching your site on the web.
So without further ado...
Website Launch Checklist
- Content & SEO
- Design
- Make sure your website is mobile-friendly
- Have a favicon
- Have a contact page
- Check website accessibility
- Testing 1-2
- Tech Side
- Analytics & Social
15 things to check before launch

1. Add page titles and meta descriptions
Page titles and meta descriptions are used by search engines to understand, organize and essentially rank your content. By putting some effort into your Search Engine Optimisation (SEO), you’ll stand a far better chance of having more visitors and attention on your website from the beginning.
The title tag is probably the single most important element for SEO, as it lets users know what’s on your page. Put a <title> tag on every page that accurately describes its content, for example:
<title>15 things to check before launching your new website | Blog article</title>
Meta descriptions are less important, but still very useful to include as search engines will often include your descriptions in search results. Here’s an example, again make sure the description accurately describes your page content:
<meta name="description" content="Learn all about what you should check before launching your new website."/>
If you use WordPress, you can install a plugin such as Yoast SEO. You can then add your titles, descriptions, and much more, right from the WordPress dashboard.
For more SEO tips, see our Beginner’s Guide to SEO: 5 On-Page SEO Tips.

2. Add a sitemap
Sitemaps are files that contain the URLs on your website. Search engines use these files to index your pages on the search engine results pages (SERPs).
Many SEO plugins will generate your sitemap file automatically, but you should always confirm that it exists (use an online tool if you’re unsure).
If you use WordPress, you can use plugins such as XML Sitemaps (or the previously mentioned Yoast SEO) to both generate your sitemap file and even control aspects such as automating the submission of an updated sitemap, each time a new page is published.
If you don’t use a CMS, fear not! You can use a free tool to crawl your website and have your sitemap built automatically. Once created, upload the file to your web host and submit it to search engines.

3. Proofread and proofview everything
There’s nothing more embarrassing than spelling mistakes. So make sure you read over and check everything! Better yet, get someone else to go through your content too.
You should review your content as a whole, by asking the following questions:
Do I have any grammar or spelling mistakes?
Software tools such as Grammarly can be of great assistance, they help you pick out common errors that could otherwise be missed. DeepL will also be a popular one for anyone who wants their website to be bilingual.
Is the content easy to read?
Always try to reduce the amount of text by keeping things simple and specific. Always try to break up long text blocks into shorter paragraphs, add clear subheadings and use bulleted lists so it’s easier for readers to scan through.
Also, take some time to ensure your content is strong, on point and has a nice reading flow. Poorly written content instantly creates an unprofessional look, and if you don’t like how it sounds now, you should probably rewrite it, before it goes public.
Is the content consistent and free of redundancy?
Check that your message is consistent throughout, and that you don’t repeat yourself. Effective content communicates a simple, clear message that is easily understood by readers.
Do I have enough visual content?
The use of images and video is an excellent way to both break up longer text and break down complex topics. Consider using a good amount of each throughout your pages, and make sure they’re optimized for the web (see Step 13).

4. Make sure your website is mobile-friendly
But it should be mobile-first, which is a notch more than mobile-friendly. Ensuring that your website is compatible with mobile devices is a fundamental part of the pre-launch process. Since 2019, Google focuses on mobile-first indexing, meaning the search rank is now based primarily on the mobile version of your website. And it’s not hard to see why, as most of the world now interacts with the web using mobile devices.
So you’ll need to make sure your website has been developed with this in mind. You can check for yourself by viewing it on a mobile device, or with a tool such as Google’s mobile-friendly test. It’ll scan your site and generate a report containing any issues with suggested fixes.

5. Have a favicon
A favicon is the icon you see next to a website when it's open in a browser window or tab. It also appears in other locations such as bookmarks, and search results. If you don't have one, now is the time to get one! Check out what’s a favicon & how do you create one? to learn more.

6. Have a contact page
Not only does a contact page allow visitors to get in touch with you, it adds credibility and improves the trust perception of your website. So make sure you have one.

7. Check website accessibility
A website shouldn’t only look good or contain useful information. The truly great websites are those that are built with accessibility in mind. Accessibility is all about making sure your site is usable for everyone, even those with disabilities. Here are a few things you can check:
- Ensure your menus can be navigated via keyboard
- Use headings properly to organize the structure of your content
- Include accurate alt text for images
- Give your links descriptive names
- Use colour with care
- Design your forms for accessibility
There are a variety of tools you can use to identify any issues and see what you can do to improve, such as WAVE (Web Accessibility Evaluation Tool), Tenon.io, or Google Lighthouse.

8. Check compatibility across browsers
Cross-browser compatibility is the ability of your website to function across different browsers. While there are hundreds of different browsers out there, you’ll only need to be concerned with the most popular ones: Chrome, Safari, Edge, Firefox & Opera.
Test this for yourself by installing each browser and checking your website manually. There are also services such as BrowserStack, that give you a truly comprehensive test on 3000+ different browsers and device types. However, in most cases, a manual test of the main browsers will be more than sufficient.

9. Check all the links
It’s often easy to assume that all your links are good and overlook this step. But something as simple as not adding https:// to an external link will create a broken link. Another common mistake is to forget to change links from a website staging environment to the live website address.
Tools such as the W3 link checker, or Dead link checker will scan your website for broken links, and produce a report for you to fix any issues.

10. Check the site functionality
Does your website have forms, a shopping cart, or a login area? Make sure you test each and ensure everything works as expected.
Pro tip: Get others to test your website! If you observe how users interact with your site, you often find it differs from your assumptions. Learning from observation can give valuable insight into potential areas of improvement. Eventually, you can subscribe to a tool like Hotjar that shows heat maps of how visitors browse your website, including where they click etc.

11. Have a valid SSL certificate
Secure Sockets Layer (SSL) certificates validate your website’s identity and are crucial to have in order to avoid your website being flagged as ‘Not Secure’ by search engines. They’ll also help to increase security and boost trust by displaying the security padlock icon in your browser’s address bar. A 'secure' signal for Internet users!

12. Have a proper backup solution
Before launching your website, it’s important to set up and have a backup solution in place. You’ll enjoy the peace of mind knowing you have a plan in case something should ever go wrong. There are a lot of ways you can backup your website, from manually copying and downloading your files, using a third-party service or even using a service provided by your web host.

13. Optimize as much as possible
A website should be optimized to give the best experience possible to your visitors. This refers to factors such as;
- Page Speed: webpages should be optimized to render as efficiently as possible. Not only does this improve visitor retention, it will also help your website rank higher in search engines.
- Media Compression: ensure all images and videos are compressed for optimal viewing on the web.
- Navigation Smoothness and Interactivity: conduct a review from the users’ perspective. Do you feel like the experience is enjoyable as a user? Do all pages scroll smoothly? Are all links and buttons clickable?
- The order in which elements load: ideally, you want to make your site usable as soon as possible. For example, you can use ‘lazy loading’ techniques to render images efficiently.
To learn more about this topic, see What is website performance and why is it important?

14. Enable analytics
Web analytics tools (such as Google Analytics) provide you with valuable information about your website’s visitors. Data collected includes traffic, demographics, user behaviour, conversion rates (for online sales), bounce rates and much more!
The insights you can gain make it a real no-brainer to install analytics from day one (not to mention it’s free!). Even if you don’t look at the data right away, tracking it now will become a valuable resource down the line.

15. Link to social media
A healthy presence on social media is an important element for any business or project looking to benefit from exposure or engagement. And the best time to start building your social media presence is from day one.
Having social media icons on your website is a trust signal you send to your visitors, given the icons link to valid social media profiles, of course. People like to see them and search engines like them too.
So if you haven’t already, now is the perfect time to create your social media profiles and link them to your site. Great places to add your social icons include the navigation menu, footer, and article ‘share’ links (if you have a blog).
To learn more about getting started with social media, see create a social media strategy and plan for all of 2022… in a day!
All good? It’s time to launch with confidence!
Launching a website is an exciting, yet stressful time. Often it feels like the job is done when the site is all ready to go, but it’s important to keep your focus and not overlook important steps.
By using this website launch checklist, you can be confident that you’ve ticked all the boxes and that your site is ready to go public and wow the world.
Now, get out there and launch your website! May your online journey be positive and successful!
 About the author: Tim Robards
Tim is WHC's Technical Writer & Integrator. When he's not writing user guides or filming tutorials, you’ll likely find him building websites or enjoying the great outdoors.
See all articles from this author Interested in writing for Web Hosting Canada?
Also on the WHC Blog
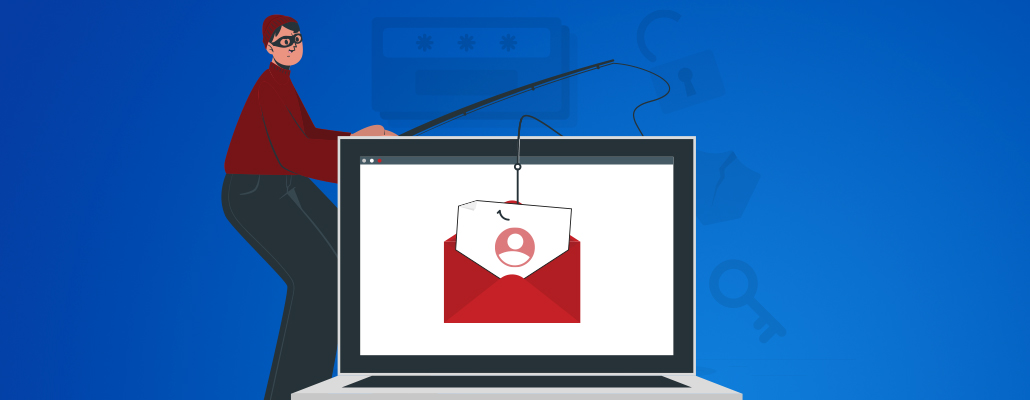
New wave of phishing emails
WHC customers, beware! Once again, some of our clients are receiving phishing emails (emails that look as if they’re coming from a legit company but are actually scams). Renewals for services will always come from...
Read full article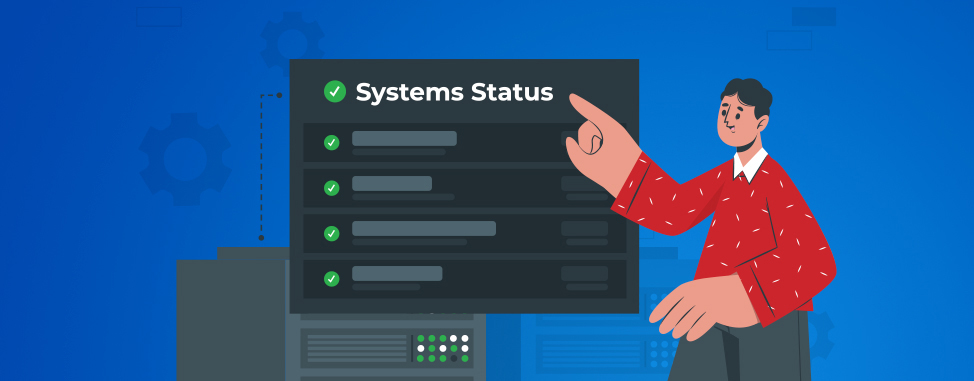
WHC has a Status Page
Anyone with a website knows: outages or downtime can happen at any time. There are many reasons why it can happen, regardless of the Internet service or web hosting provider you choose. (And it often seems to happen at the...
Read full article