If you own a business there’s a good chance you have a website; and if you have a website, you need to keep it secure.
As soon as you launch your website or your online business, it could potentially become a target for cyber-related attacks. Long before COVID-19 struck here in Canada, cybercrime was already a big threat for entrepreneurs and online business owners. Even Facebook experienced a data breach that affected 3.5 million Canadians alone! So, how can small businesses protect themselves when even the biggest players are not able to?
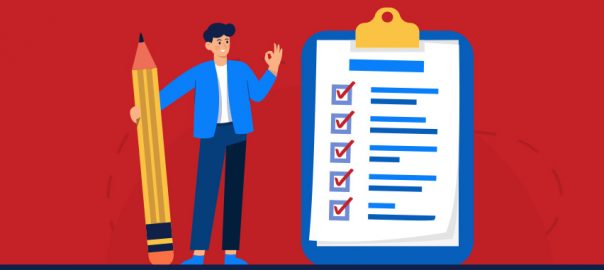
We go over the top 7 ways to secure your online business in order to protect your company, your customers, and your team.
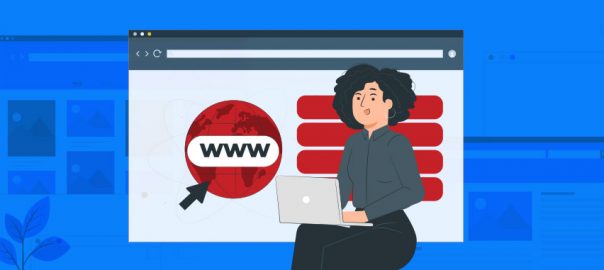
1. Choose a Security-minded Web Hosting Provider
When you’re building your website, the first big decision to make is choosing your web hosting provider. It’s easy to feel overwhelmed with this decision, especially if you have limited technical knowledge. The main key is to choose one that is reliable and security-minded. After all, the web host you choose powers your website and has a large impact on its security.
Hackers go for the easy grab, just like robbers who visit parked cars late at night until they find a car that has been left unlocked. This is why putting security on the backburner is a rookie mistake you don’t want to make. Security might not be the most interesting topic for your business, but it’s an important one.
In particular, choose a web hosting company that:
- Proposes multiple layers of security by default
- Provides 24/7 support in case of problems
2. Keep Your Software and Apps Updated
Keeping your computer, your website or any other device up-to-date is the easiest way to stay cyber-safe. The internet is constantly changing and so are cyber threats. Hackers are quick at finding weaknesses and security breaches, every time a new software version or plugin is updated or launched.
There is an easy way to make sure you’re ahead of the game: keep your software updated! These updates typically include fixes for bugs or loopholes and can help prevent your website from becoming an easy target for attacks.
Additionally, most apps allow you to enable automatic updates. When available, simply enable Automatic Updates, and you won’t have to worry about updating manually.
3. Always Use SSL Certificates & HTTPS
So, what is an SSL Certificate and why do I need one?
An SSL certificate makes your website more secure. It’s the little padlock you see in a web browser, just left of the website’s domain name. It adds an ‘S’ to HTTP and consequently tells your visitors if your website is encrypted or not.
What does HTTPS stand for? HTTPS stands for HyperText Transfer Protocol Secure. It’s the secure version of HTTP.
Passwords and credit card information should never be transmitted over unsecured connections. By encrypting your data, an SSL certificate and HTTPS connection help prevent specific types of cyberattacks, like man-in-the-middle attacks. This is where a hacker would intercept unencrypted data being transmitted between your website and your device. In other cases, cyber pirates can mimic your website while your trustful customers submit their personal info and credit card numbers.
In addition to helping improve trust, an HTTPS connection is also a ranking factor for search engines like Google so it’s a quick way to build trust and boost sales. Online shoppers are fast at learning new ways to recognize if a website is worth their money and trust!
4. Protect Your Admins and End-points
Most companies use the internet to monitor their activities, sales, orders, and inventory, and to execute marketing and public relations campaigns, like communicating with customers, using social media, and performing other vital tasks. Despite this, we continue to learn about large-scale website or computer security breaches. To secure your devices and sensitive data, follow these guidelines:
- A firewall acts as a buffer between your data and the outside world. Firewalls protect your network from any suspicious or unauthorized access and notify you of any intrusion attempts. Firewalls are integrated into most operating systems, such as Windows and macOS. Add to that an extra layer of protection with an antivirus, like Bitdefender or Avast. It protects your device from malicious code and software by detecting real-time threats and ensuring the safety of your data. All these features are included in WHC’s SiteSafe Protection Plan.
- Our friends at CIRA also offer the CIRA Canadian Shield – A free malware and phishing protection for Canadians. It’s free, takes 5 minutes to set up, and it’s designed and deployed only for Canadians.
- An anti-spam filter secures your email from spam, viruses, phishing, ransomware, and malware attacks. WHC’s Enterprise Anti-spam has a self-learning smart technology that eliminates spam mail before reaching your inbox. It keeps your inbox relevant and increases productivity and security.
- When you own a website, your personal information (such as your address and phone numbers, domain name, IP address, etc.) is saved in a Whois database. It can help a hacker take control over your website. Domain Privacy Protection shields this data from hackers, spammers, and identity thieves. You control your information on the public WHOIS directory while also retaining complete control over your domain. Staying in control of your website helps you remain the master of your domain.
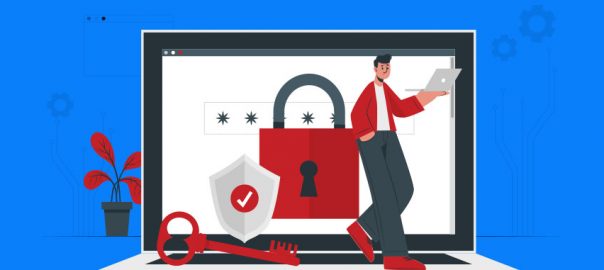
5. Use Secure Passwords (or Keys, Whenever Possible)
Lock hackers out with a safe password practice.
According to a poll by BitDefender, 59% of people use the same password everywhere. Yet, the same study tells us that 91% of people know that reusing a password poses huge security threats. If you still write your passwords in a notebook, or worse... on a loose piece of paper, you might be the next perfect candidate for hackers. Here are 3 easy tips to improve your password game immediately:
- Use two-factor authentication whenever possible
- Avoid passwords based on dictionary words or common patterns such as QWERTY or 123456789
- Use a different password for every site you log in to
Not sure you’ll be able to remember all your different passwords? You’re not alone. In fact, it’s the #1 reason why people reuse their passwords. Forgetfulness! Well, we come bearing great news! A password manager, like LastPass or 1Password, can help with that.
6. Monitor Your Website Daily (and Automatically!)
Website infections (such as malware or viruses) can considerably damage your website and its reputation. It can block visitors from being able to access it, or worse, infect your visitors’ own computers. Website infections can also affect your SEO, as your site can be blacklisted by search engines.
Considering how sneaky some malware can be, automatic scans of your website are highly recommended. We recommend leveraging tools that can scan your site daily, like SiteSafe Protection, and report back any unusual or suspicious results rapidly, to help you take action.
7. Cybersecurity Should be Top-of-mind
Cybersecurity is no longer simply a concern for IT departments in large companies; it’s become a global issue that affects websites big and small, including customers and staff.
Consider scheduling regular cybersecurity training at all levels to ensure that technology is being utilized properly, continuously updated, and closely monitored. You are the first line of cybersecurity prevention for your business, along with the security decisions you make, and the tools you implement.
Make sure you choose a web hosting provider that prioritizes your security, provides the right tools, and can help support you in this process!
Have any questions about the security of your website? Leave them in the comments below.